Insert a Window
To insert a window in a wall, activate the Window tool in the Toolbox and do the following:
- In the Settings window load the Type if available or select the family of the opening;
- Enter the desired window settings;
- In the Project window set the position of the opening by clicking on the wall;
- Click the internal / external area of the wall to choose the opening direction.
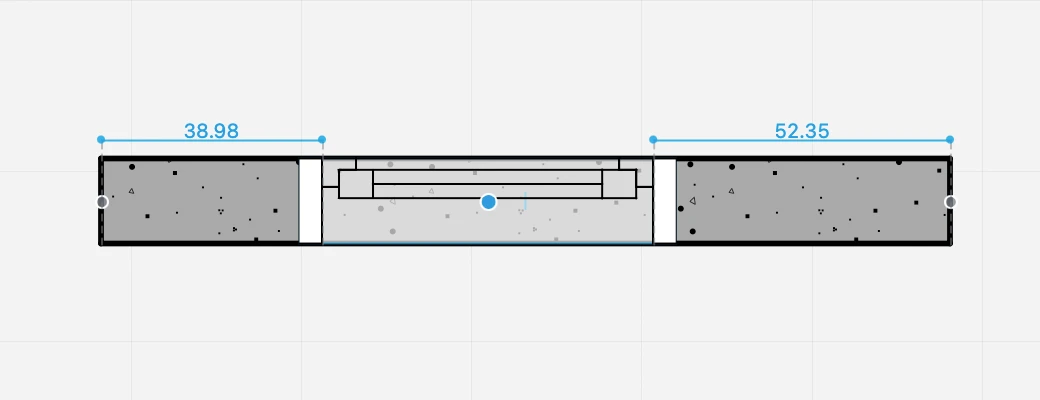
As you move the cursor over a wall, temporary dimensions show the relative distances of the opening from the surrounding vertices or joints of the wall.
 _
_
To set and constrain the value of either dimension, so that the opening is exactly at that distance from a reference point, enter the value on the keyboard and move the pointer, so as to choose which dimension on either side of the wall the value applies to. Click to confirm and insert the opening.
NOTE Windows are always inserted relative to the external surface of the wall, which is marked in blue when selected.