Drawing Presentation Tool
This is a 2D rendering tool that creates high-quality images of your project with varying effects of background, pen and fill colors, border and margins, watermark and adjustable size and resolution.
This tool not only applies anti-aliasing to object edges, but it also allows customizable print size and image resolution and provides background options, frames and color effects to make high impact presentations of your projects. The result is an image that can be exported into any of the supported graphic file formats. To set all options, select Tools ▸ Render to open the image settings dialog.
Set Image Options
Use this dialog to set the visual effects and options to create an illustration.
- Image effects: click to show the graphic options.
- Border: option to display a border, color and thickness of the margin.
- Watermark: options to add a digital signature or watermark to the image.
- Image size: options to set the image resolution and size.
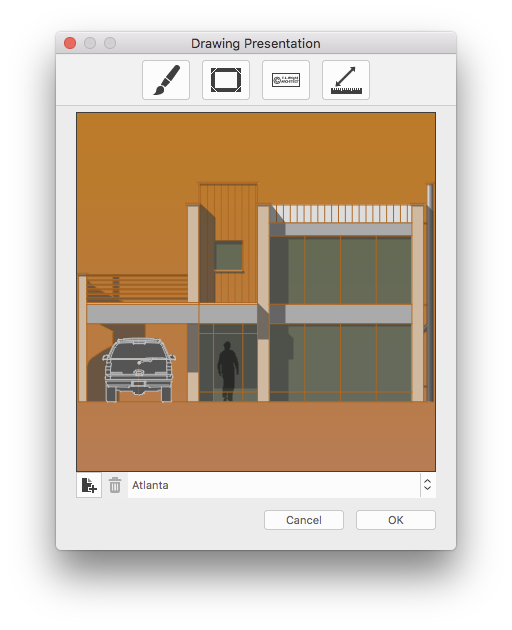
- Preview of the resulting image.
- Buttons to save the current settings as a new theme or to delete the selected theme.
- List of loaded themes.
Once all the settings are done, if you wish to save the current settings as a new theme for future use, just push the “+” button close to the themes menu to see it listed on the menu with the desired name. Click “Ok” to confirm and open a new window displaying the resulting image or “Cancel” to dismiss this dialog.
 _
_
Image Effects
The options to apply graphic effects to the image include:
- Background:
- By Project: sets the background to the same color as used in the main project window;
- Plain Color: use the button to select the color;
- Horizontal Gradient: select left and right colors of the gradient;
- Vertical Gradient: select upper and lower colors of the gradient;
- Image, tiled: draws an image as background; pictures smaller than the destination image are tiled; select the image from disk;
- Image, resized: draws an image as background scaling it to fit the destination image. Images are scaled non-proportionally; select the image from disk.
Watermark
The Watermark feature of the “Render” tool allows you to add a text watermark to the image: the text style options include Font, size, text style (bold, italic, underline) and color. Through a menu it is possible to set the position of the watermark within the image.
Image Size options
In this pane are grouped all the options to set the desired format, size and resolution of the resulting image.
- Preset: choose the size that best fits your needs from the many standard formats in the menu;
- Pixel Size: use the fields to enter your custom image size in pixels: click the icon to lock the desired ratio;
- Resolution: set a resolution of 72 dpi for Web publishing or presentations, whereas 300 dpi or higher resolutions are best for print output;
- Print Size: you can set width and height of the printout, using the menu on the right to set the units.
Export Images
The resulting image is displayed on a new window which provides some buttons, including the zoom buttons: press the “Save” button to export the image as a TIFF, PNG or JPEG file or the “Copy” button to copy the image to the clipboard.
You can also drag and drop the image on the main project window to insert it in the current sheet.