Hatch at Click
Use this method to apply the current hatch to shapes defined by lines, poly-lines, polygons, arcs, curves and other graphic objects: click inside the shape to fill it automatically with a Hatch object. The shape must be made of objects of any of the supported classes and connected at their end points.
Object classes supported by the Hatch at Click method:
- Lines
- Poly-lines
- Rectangles and regular polygons
- Arcs, Circles, Ellipses
- Bezier paths and splines
- Walls
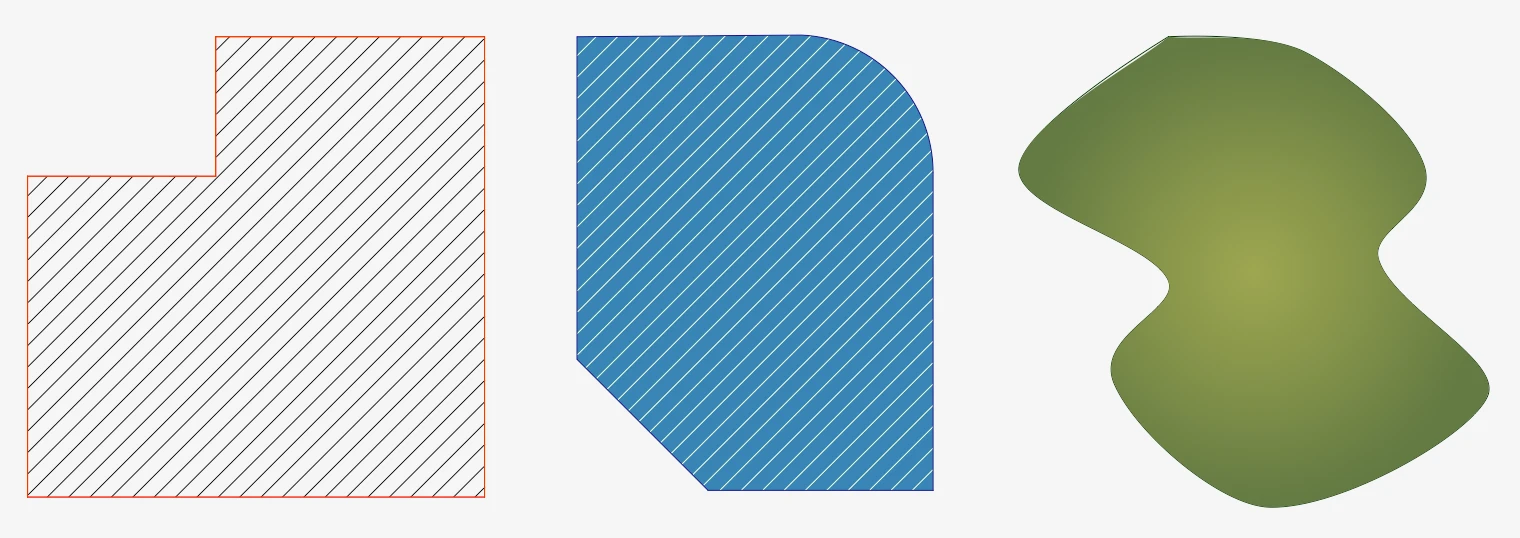
With the exclusion of walls, the other objects can be combined together to form the base shape. For example, you can apply the hatch to a shape made of lines and arcs, or lines and a spline. Move the pointer over the shape to see the preview of the boundary of the hatch that is going to be created.
If you want to ignore the automatic boundary defined by walls and use another shape instead, hold the Alt key down. This will force the tool to ignore the region defined by the walls and look for any other region enclosing the click point.
The new hatch or fill is created with current default properties defined in the Hatch Settings panel. As with other objects, you can select it at any time and change its properties.
The hatch is automatically inserted behind the boundary shape, so that its Z position is immediately below the lowest object of the boundary. Hold the Shift key down to insert it on top of the shape.