Hatch Patterns and Textures
This panel lists the hatch patterns of the project and it is used to create, edit and organize vector hatch patterns and bitmap textures. The functions provided by this pane work mostly in the same way as those on the Line Types pane.
HighDesign provides three families of fills:
- Linear hatches, made of parallel lines, continuous or with a specific dash pattern, with variable offsets and angle. A set of line type, angle, and offsets is a skin. A linear hatch can have up to eight overlaid skins.
- Tiled patterns. A pattern is a vector drawing that is tiled (repeated) along rows and columns. Each tile contains the drawing that is clipped inside the hatched region.
- Textures: an image tiled inside the hatched region.
_
View a hatch type
Select an item in the Project library to see its preview and inspect its values. Depending on the selected item’s location, it can be edited or deleted if it is a custom item, or duplicated.
Use the icon buttons above the Project list to filter the listed items by family.
The list order of project hatch types can be rearranged by dragging a hatch type to its new position.
Load a resource from a library
Press the Load button or click the + button to the left of the Project list to reveal the libraries. Select the item to load and push the plus button or drag the item to the Project list. The item is loaded into the project and immediately available for use.
_
Duplicating a hatch type
You can duplicate any hatch type. To duplicate, select a hatch type and either push the Duplicate button on the bottom side of the window or the pop-up duplicate button on the selected selected hatch type’s cell when available.
The duplicated hatch type is automatically opened for editing so you can modify its name and content directly.
Create a new hatch type
Press the New Hatch Type button and choose the desired family from the pop-up menu. Depending on the family, the interface changes and shows the relevant fields and tools.
_
New Linear Hatch
A linear hatch is defined by a line repeated multiple times according to several parameters like spacing, angle, offset, etc. A set of parameters is called a “skin”. A linear hatch in HighDesign can have up 8 skin definitions that are rendered in sequence.
_
A skin has the following parameters:
- Angle: in degrees, defines the orientation on the plane of the vector.
- Spacing: the distance between two lines, in the current units.
- Origin Dx, Dy: these values control the offset of the current skin from the origin of the hatch. All the spacings are calculated from the origin point of the hatch, which allows you to align the pattern to your design. By entering an X and Y offset the entire skin is moved off from the origin by those values. This is particularly relevant when the hatch is made of multiple skins.
- Line-type: can be continuous, custom dashed or one of the project line types.
- Custom dashed line types can have up to three dash-gap pairs. The values are expressed in the current unit.
- Custom dashed lines can have an alternate offset: the origin of every second line will be moved by the alternate offset value. For example, this is useful to create masonry patterns where the vertical lines are dashed lines with an alternate offset.
_
New Tiled Pattern
When you select New Tiled Pattern from the new hatch menu, the workspace switches from “Project” to “Edit Pattern”. This workspace allows you to design the typic tile of the hatch pattern using a sub-set of the drafting tools and to define its size. The Edit Pattern panel provides a preview of what the tile will look like when rendered as a pattern and allows you to define the tile’s width and height.
In this workspace the drawing scale is set as 1:1. The available drawing tools are Selection Arrow, Construction Objects, Lines, Segmented Lines, Rectangles and Regular Polygons. The drawing area is set by the size of the tile.
_
You can also Copy/Paste drawings from the main window of HighDesign: in this case it is advisable to set the size of the tile before pasting the pattern since tile, drawing area and pattern must have the same size.
In the drawing area you can draw and edit the pattern exactly as in the main window. When the pointer is close to the middle of the tile, the median axes become visible to provide a visual aid to mirror or rotate objects. Other alignment points are available on the borders of the tile to make it easier to design the tile and avoid gaps.
The preview window provides the fields to set the size of the tile and the zoom slider: once the drawing is complete, just push the “OK” button in the preview window and the focus turns back to the Hatch Manager.
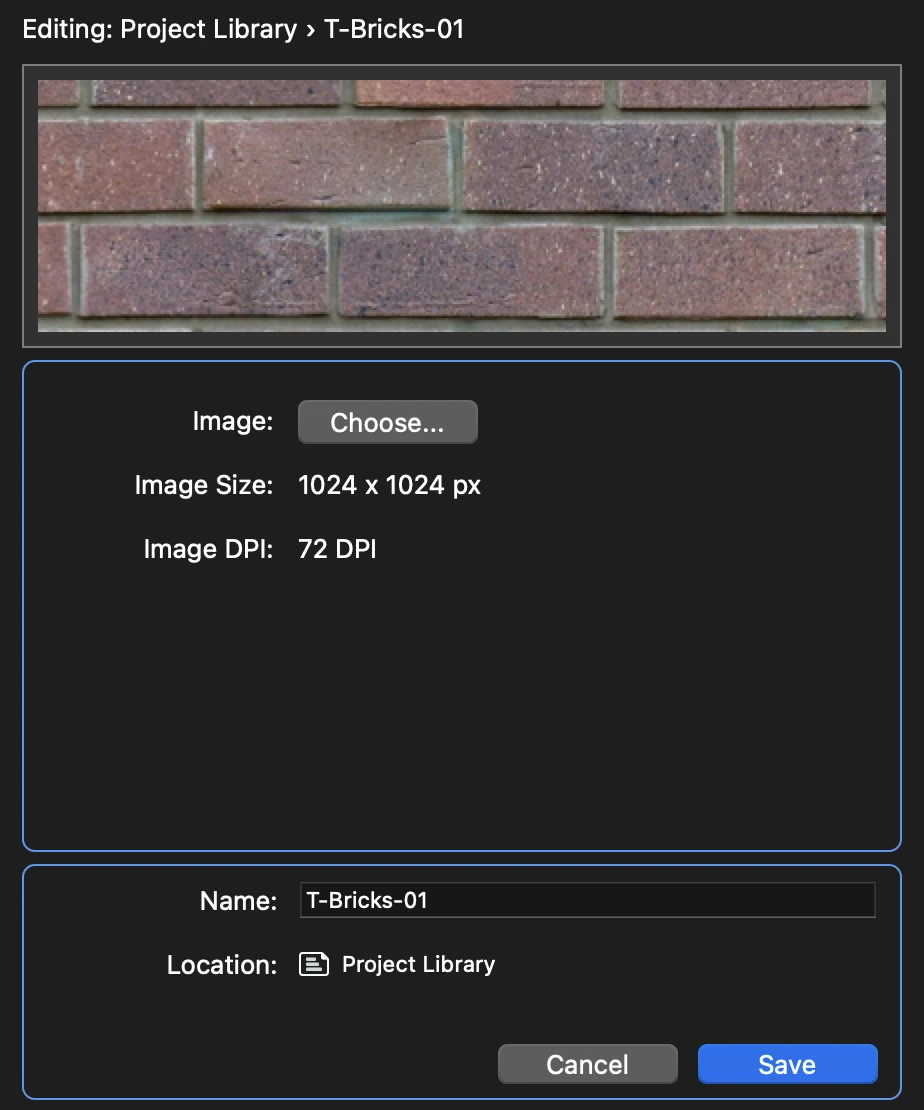
New Texture** **
Another family of hatch is the texture, which tiles and repeats an image inside the boundary area. To create a new texture, click the Add (+) button, select New Texture and choose the image in any of the supported file types.
A texture only supports 90° rotations, and can be scaled via the Hatch Properties panel. The origin of the texture can changed just as in linear hatches and patterns, by moving the center point when the hatch object is selected in the drawing.
 _
_
Edit a hatch type
Custom and project hatch types can be edited by pushing the Edit button on the selected item’s cell. It is possible to change any of the parameter values and the name, but not its location.
Delete a hatch type
- Select a custom type; note that only custom hatch types can be deleted;
- Push the “Delete” button.