Coordinates, Distances, and Angles
The Input fields are grouped together in the middle of the Input Bar: use these fields to enter the values of constrained coordinates, length and angle of the object you are drawing. The X, Y and L fields also support additions of partial values.
When you click on one field or use the keyboard shortcut, a visual aid shows up to point the current constraint out.
In all input fields, values can be entered either as numbers, such as “100”, or as a sum of numbers, such as “100+20+60”.
X and Y Coordinates
Coordinates in HighDesign are either absolute or relative. Absolute coordinates are calculated from the global origin point of the drawing, and relative coordinates are calculated from the previous point of the object.
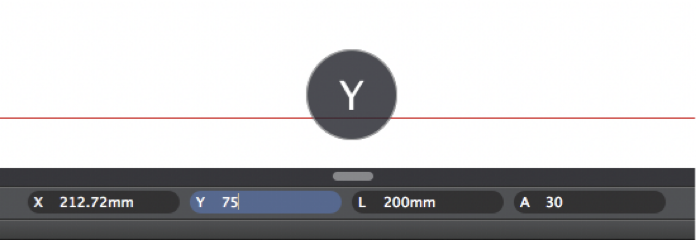
The insertion point of an object, that is its start point, is always set and viewed in absolute coordinates, with the X and Y values calculated from the origin of the current sheet. The next point is relative by default, but you can change it from relative to absolute by clicking the X or Y icon on the input field.
For example, in a line with points at (20, 20) and (100, 100), the end point is (100, 100) in absolute coordinates and (80, 80) in relative coordinates.
To set the absolute insertion point:
- Click on the corresponding input field or press the “X” or “Y” keys on the keyboard;
- Enter the desired X or Y distance from the Origin;
- Press Return to confirm.
**To set the relative end point: **
- Click on the coordinates fields or press the “X” or “Y” keys on the keyboard;
- Enter the desired dx or dy distance from the start point;
- Press Return to confirm.
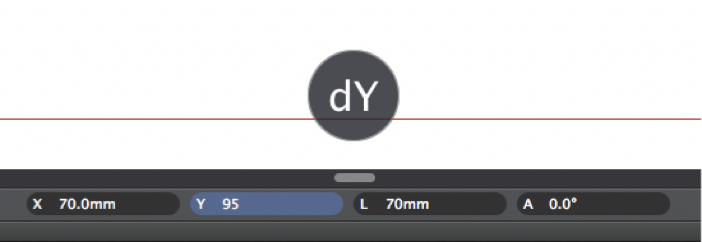
You can change from relative to absolute coordinates and vice-versa by clicking the X or Y icon on the input field or using the corresponding key shortcuts.
Constrained Length
You can constrain a segment, line or radius to a fixed length after you have set the start point. In HighDesign, there are two methods for constraining a length that can be used interchangeably.
A. Define direction, set length.
- After the insertion point is set, move the pointer at the desired angle of the next point;
- Enter the desired length, either as a total length or as a sum of partial values;
- Press Return to confirm;
B. Define length, set direction.
- Click on the Length field or push the “L” key on the keyboard;
- Enter the desired length;
- Press Return to confirm;
- Move the pointer to set the angle of the vector.

Constrained Angle
To constrain the pointer movement to a fixed angle:
- Click on the “A” field (Angle) or push the “A” key on the keyboard;
- Enter the desired angle value (in degrees);
- Press Return to confirm;
- Move the pointer to set the desired length.
Relative Angle
It is possible to constrain the pointer to a relative angle to a reference direction:
- Click on the “A” field or push the “A” key on the keyboard;
- Enter the desired angle value (do not push the “Enter” key);
- Click on the reference direction (line, poly-line segment or wall);
- Move the pointer to set the destination length.
Constrained Distance
To set the distance of the insertion/start point of an object from a datum point, type the value, push Enter and click on the datum point; the distance is now displayed as a radius from the datum point: click to set the insertion/start point of the object.
 _
_
Activate drawing constraints by using the TAB key
Drawing constraints for X and Y coordinates, Length and Angle can also be activated by pressing the Tab key on the keyboard. When you first push that key it activates the X constraint; then, in order, Y, L, A. Activating the Y constraint stores any values inserted into the X field, so to make it easier to set the coordinates of a point.