Hatches and Fills
Use the Hatch tool to fill existing objects or regions with vector hatch patterns, solid color fills, gradients, or textures. You can also use a combination of different filling modes, such as hatch and solid color.
You can select a predefined hatch pattern or create your own (SE/Pro): HighDesign comes with a wide range of built-in hatches that can be easily extended with your own hatches.
Hatches and fills are elements that include various parameters that can be set and modified in the Hatch tool settings panel.
Topics in this Section
Subsections of Hatches and Fills
Create Polygonal Hatches
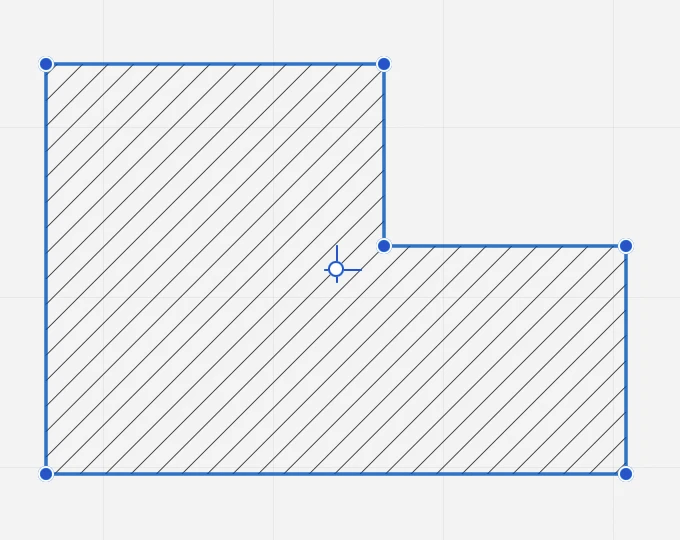
To draw a polygonal hatch
- Click to specify the start point.
- Move the cursor and click to specify the next vertices.
- Double-click or click the start point to end the operation close the region.
 _
_
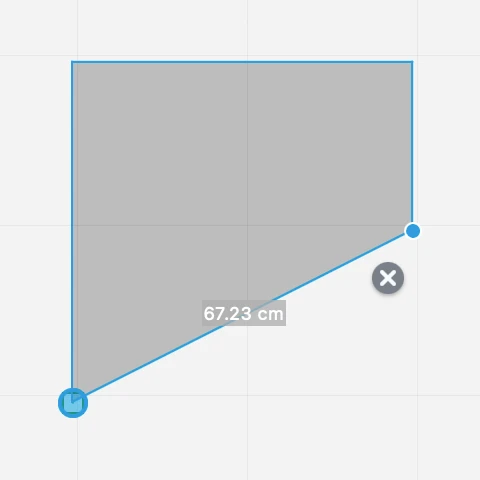
You can click the X (Cancel) button next to each new vertex or press Esc to cancel the last vertex in the sequence.
You can press the Return key to confirm a vertex, or double-press Return to close the shape.
Editing a Hatch
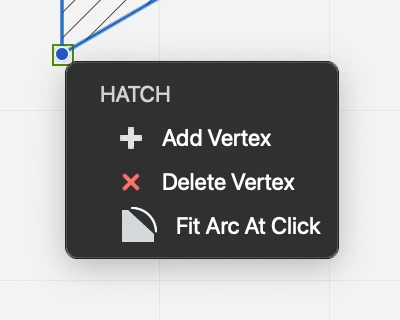
Hatch and fill regions can be edited by adding and removing vertices, stretching a vertex, or by fitting a segment to an arc. Most operations can be performed by clicking a vertex or a side of the shape, or by opening the Edit popup menu.
With the hatch selected, move the pointer over a vertex and wait half a second until the Edit menu opens next to the vertex.
 _
_
Add and Remove Vertices
To add a vertex to a selected hatch
- Click on the border on any segment. The cursor changes to show that you are about to add a point.
- Alternatively, open the Edit popup menu over a vertex and choose Add Vertex.
To remove a vertex
- Open the Edit popup menu and choose Delete Vertex.
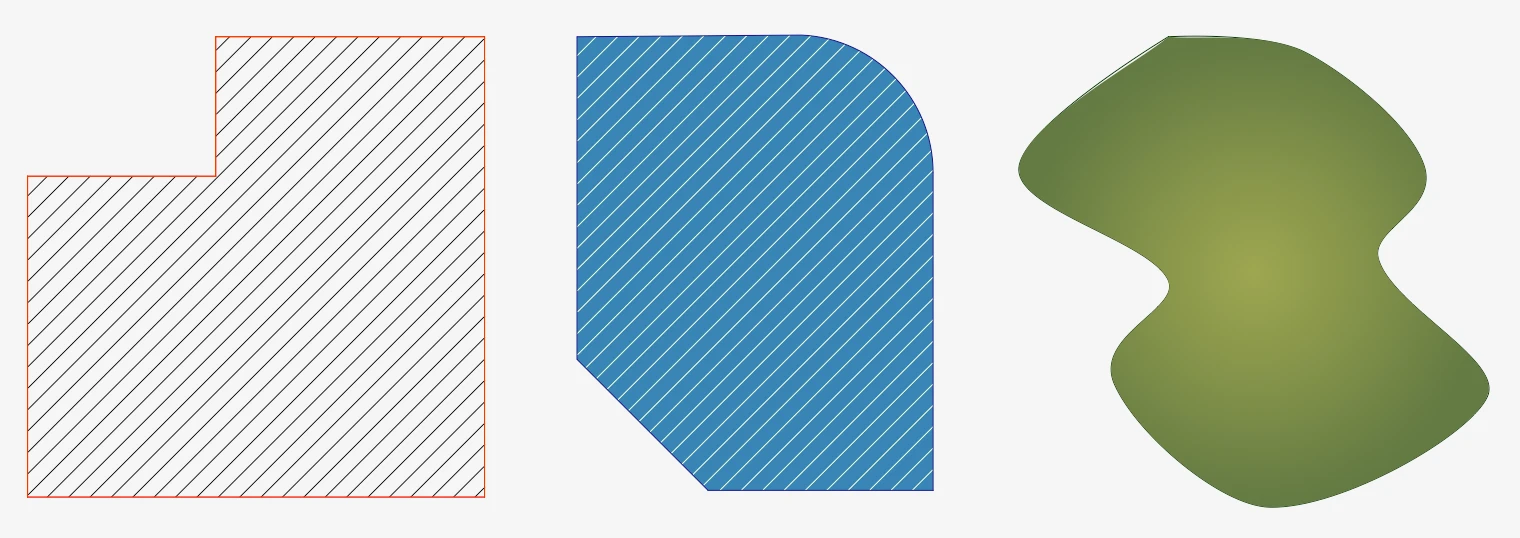
Fit Arc at Click
Hatch regions support only straight segments, but can be applied to arcs with a specific command available on the tool popup menu. To apply a hatch to an arc, do the following:
- Create the hatch by clicking the vertices of the outline. While defining the hatch boundary, do not follow the profile of the arc with the hatch points. Instead, add the chord of the arc between its start and end points.
- Select the hatch you just created, move the pointer over one of the points at the start or end point of the arc and hover for half a second. The options popup menu opens.
- Select Fit Arc at Click and click on the arc.
Hatch at Click
Use this method to apply the current hatch to shapes defined by lines, poly-lines, polygons, arcs, curves and other graphic objects: click inside the shape to fill it automatically with a Hatch object. The shape must be made of objects of any of the supported classes and connected at their end points.
Object classes supported by the Hatch at Click method:
- Lines
- Poly-lines
- Rectangles and regular polygons
- Arcs, Circles, Ellipses
- Bezier paths and splines
- Walls
With the exclusion of walls, the other objects can be combined together to form the base shape. For example, you can apply the hatch to a shape made of lines and arcs, or lines and a spline. Move the pointer over the shape to see the preview of the boundary of the hatch that is going to be created.
If you want to ignore the automatic boundary defined by walls and use another shape instead, hold the Alt key down. This will force the tool to ignore the region defined by the walls and look for any other region enclosing the click point.
The new hatch or fill is created with current default properties defined in the Hatch Settings panel. As with other objects, you can select it at any time and change its properties.
The hatch is automatically inserted behind the boundary shape, so that its Z position is immediately below the lowest object of the boundary. Hold the Shift key down to insert it on top of the shape.
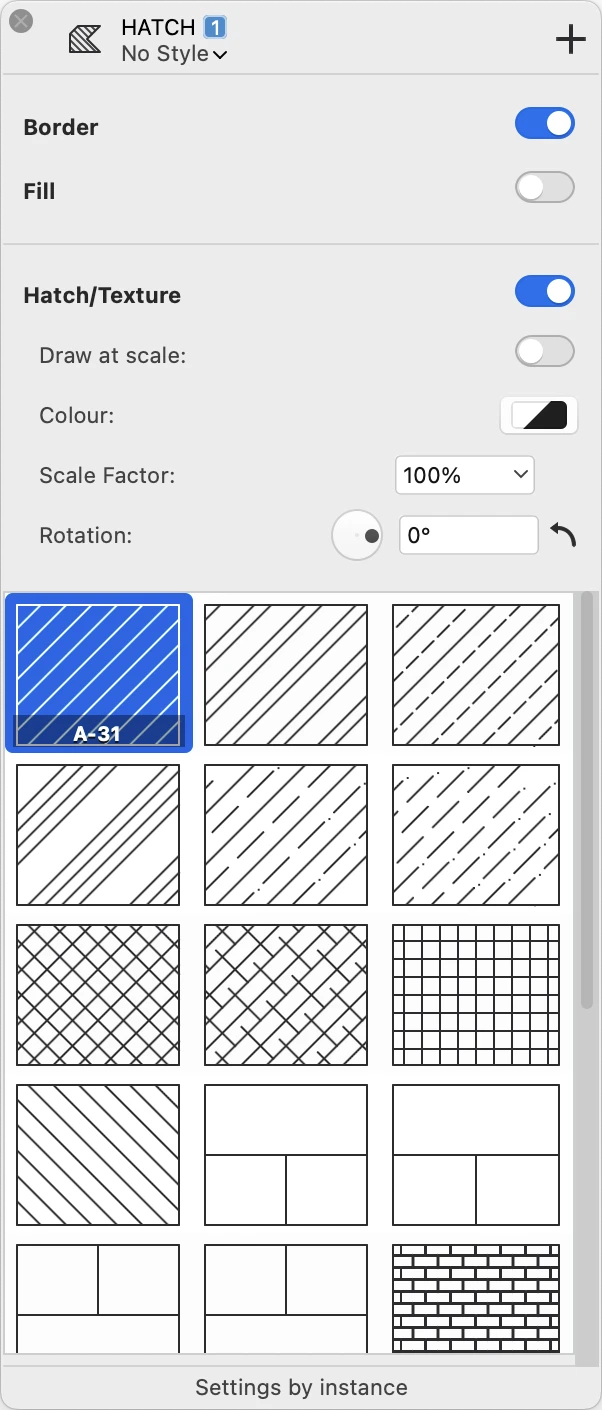
Specify the various parameters of new and existing hatch regions by using the Hatch tool settings window. Select Edit ▸ Settings Window ▸ Hatch Pattern or double-click the corresponding icon on the Toolbox to open the Hatches & Fill Settings window.
 _
_
Borders and Fill
Use the Border and Fill switches to enable or disable the display of the region’s border and color fill. To set or change the fill color, use the Fill button on the Properties bar or Graphic Attributes panel.
Hatch and Texture
Use the Hatch/Texture switch to enable or disable the display of a hatch pattern or texture fill. Hatch patterns and textures include the following options:
- Draw at scale. Enable this option to have the vector hatch displayed at the current sheet scale. This option is not available for textures.
- Color. Use the Color button to specify the pen color of the hatch pattern.
- Scale Factor: change the scaling factor of the hatch pattern. This value is not connected to the drawing scale factor and ranges from a minimum of 1% to a maximum of 1600%.
- Rotation: change the orientation of the hatch by defining a rotation angle.
Select the hatch type or texture from the list.
The last cell of the Hatches table is a special button: click it to add hatch types to the current project. This option opens the “Hatch patterns” pane of the Resource Manager window.
Opening Islands Inside a Hatch
Hatch and fill regions can have multiple islands, or holes, inside the region. You can open a island with the polygonal or circular island methods, or with the Hatch at Click method.
Polygonal Island
Select this method to create polygonal openings in existing hatches by drawing the shapes of the islands within the selection. To do this, just activate the Hatches & Fills tool, select the method and click on the vertices of the polygonal opening you wish to create within the hatch. This method can be used on either selected and unselected hatches. The nearest hatch is detected automatically as you move the cursor over the project.
Circular Island
This method allows you to open circular islands defined by center and radius. Click to set the center and click again to set the radius: it is also possible to set the value of the radius numerically.
To edit the island, select the hatch and locate the pointer over one vertex of the opening till the tool menu shows up giving you the options to remove the island, to delete one vertex or to add another one.
Opening islands with the Hatch at Click method
The Hatch at Click method can be used to open islands (holes) inside a hatch: select the hatch and click on one or more shapes inside its boundary. Only the edited hatch object must be selected.