Chapter 1
Subsections of Windows
About Windows
Windows are architectural elements that belong to the Openings class and in their most basic function are used to open holes in walls. Openings are hosted elements in that they can only be placed in a wall, that acts as the host element.
Like any other architectural element, windows have geometric, graphic and information parameters that you can edit through the settings window and the Object Info panel.
 _
_
Topics in this Section
- Window tool settings
- Insert a Window
- Editing a Window
Editing a Window
You can resize, move and flip a window directly by clicking one of its control points. All editing operations are available when the window is selected, but the flip operations are only available when the window is the only selected object.
Resize a Window
To resize a window, click one of its handles at the start or end sides and move the pointer. Pop-up dimensions show the current size. You can enter a new size value or click to end the editing operation.
Move a Window
Click its middle handle to move the window within its wall.
Flip a Window
Click the double arrows to flip the opening direction, outside or inside.
Editing a Window with the Object Info Panel
The Geometry section displays the Rough Width and Nominal Width fields to change the size of the selected window.
The ID section shows the Name, Tag and Description fields to edit or add information to the selected window: use the Settings button to open the Window Settings dialog.
The Opening Direction of a window can be changed through the Settings window: select the window, open the Options pane of Settings and select Opening Direction > “Open Inside” or “Open Outside”.
Insert a Window
To insert a window in a wall, activate the Window tool in the Toolbox and do the following:
- In the Settings window load the Type if available or select the family of the opening;
- Enter the desired window settings;
- In the Project window set the position of the opening by clicking on the wall;
- Click the internal / external area of the wall to choose the opening direction.
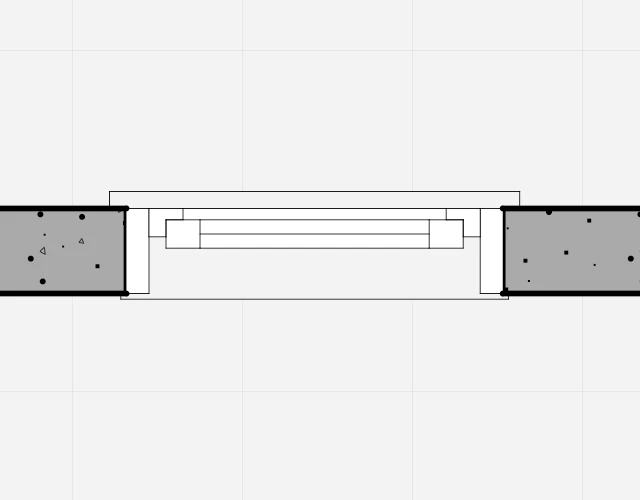
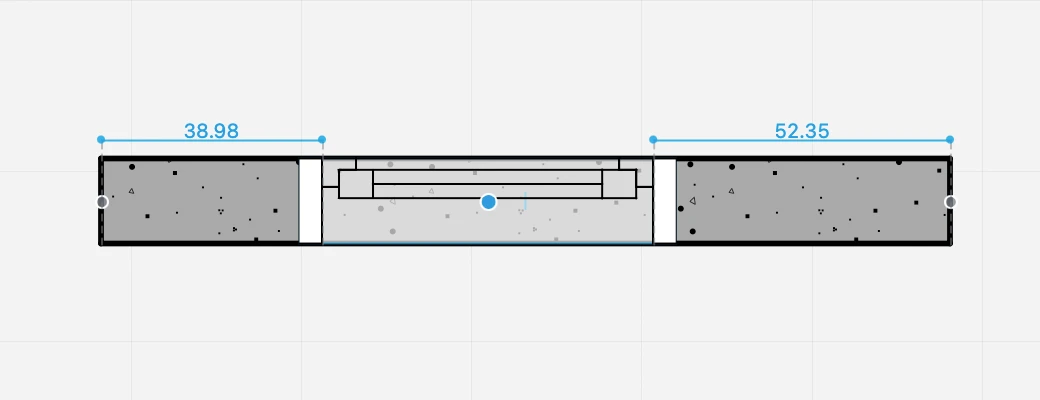
As you move the cursor over a wall, temporary dimensions show the relative distances of the opening from the surrounding vertices or joints of the wall.
 _
_
To set and constrain the value of either dimension, so that the opening is exactly at that distance from a reference point, enter the value on the keyboard and move the pointer, so as to choose which dimension on either side of the wall the value applies to. Click to confirm and insert the opening.
NOTE Windows are always inserted relative to the external surface of the wall, which is marked in blue when selected.
Window Tool Settings
To open the tool settings of windows, select Edit ▸ Settings Window ▸ Window… or double-click the tool icon. You can load an existing Window Type if available or customize the window by selecting its family and setting all the parameters and options. Current settings can be saved as new types by pressing the Add icon.
The Window tool settings window includes two panels: Geometry and Options.
_
Window Geometry
Use this panel to configure the parameters that define the shape and size of the window, such as width, height, reveal type, etc. The panel is provides the following options:
- Family. Open the drop-down menu to select the window family from the list. The available families include:
- empty opening
- generic and simple windows, symbolic representations of a window
- casement windows
- single/double -hung windows
- sliding windows
_
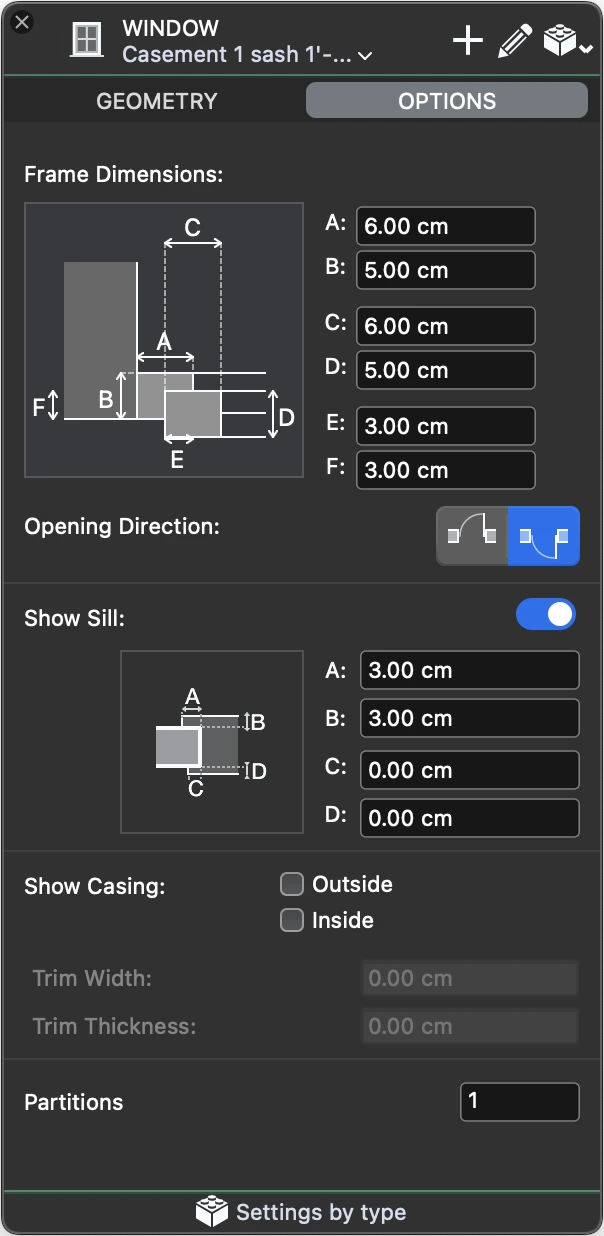
Window Options
Use this panel to specify the dimensions of the frame, opening directions, the optional sill and various display options.
 _
_
Window Options
Use this panel to specify the dimensions of the frame, opening directions, the optional sill and various display options.
- Frame Dimensions. Depending of the current reveal, you can specify the dimensions of the various components of the door frame.
- Opening Direction, outward or inward.
- Show Sill. Activate the switch to enable the controls and define external and internal offsets and widths of the sill.
- Show Casing. Depending on the desired level of detail, you can choose to display the outside and inside casing component and specify its dimensions.
- Partitions: specify the number of internal partitions of the window.